Deploying n8n: Getting started with n8n cloud

Today, you will learn how to start your n8n journey using the official n8n Cloud, the hosted version provided by n8n itself. This is a fantastic option if you want to dive straight into building automations without worrying about servers, setup, or maintenance.
n8n Cloud provides a hosted version of the platform, but it comes with a different way of counting everything compared to the open-source, self-hosted version. So, let's dive into it and see if it's the right fit for you.
First Things First: Let's Talk Pricing#
Before we jump in, it's really important to look at the pricing, because this is where n8n Cloud differs the most from self-hosting. In other cases, like when you host it yourself, you have practically unlimited features and flow runs. Here, you are quite limited, and this is why it's often the last option I personally pick. Although, in some cases, it might be more than enough for you, depending on your use cases. You just really need to know your limits.
We'll start by looking at the Starter and Pro plans.
The Starter Plan#
For €24 per month (~$25 USD), the Starter plan gives you:
- 2,500 Workflow Executions: This is the total number of times your workflows can run per month.
- 5 Active Workflows: You can only have five workflows turned "on" at any given time.
- 5 Concurrent Executions: This is a key limit. It means only five of your workflows can be running at the exact same moment. If you have a cron job triggering every second, only the first five will start; the rest will be queued or ignored.
Theoretically, you could have one massive workflow with 10,000 steps, and it would still count as a single execution. From this picture, it looks like that would work.
The Pro Plan#
Starting at €60 per month (~$63 USD), the Pro plan significantly bumps up your limits:
- 10,000 Workflow Executions: A big jump for more demanding needs.
- 15 Active Workflows: More room to build and run different automations.
- 20 Concurrent Executions: This allows for much more simultaneous processing.
- More Features: The Pro plan also unlocks additional collaboration and management features, like shared projects and admin roles.
The Most Important Limit You Might Miss#
Okay, here is the most critical detail, buried in the feature comparison table: Max Execution Time.
They say, okay, you have 2,500 executions, but all of them must be less than 5 minutes long on the Starter plan. Otherwise, they will stop, and they will basically fail. This is a super important point to consider if you have anything AI-heavy, data-processing-heavy, or any workflow that needs to wait for information.
- Starter Plan: 5-minute max execution time.
- Pro Plan: 40-minute max execution time.
- Enterprise Plan: Unlimited.
For this walkthrough, we'll use the Starter plan to get you up and running.
Signing Up for Your 14-Day Free Trial#
Let's get our hands dirty. n8n offers a 14-day free trial, which is perfect for getting a feel for the platform.
-
Start the Trial: On the pricing page, click the "Start free trial" button under the Starter plan.
-
Register Your Account: You'll need to fill in your details. You can also specify an account name, which creates a custom URL for your workspace (e.g., my-company.app.n8n.cloud).
-
Onboarding: Next, they'll ask you a few questions about your company size, team, and technical skills. Just click through the options.
-
Invite Team (or Skip): You can invite team members to your workspace now, but for our case, since we're just starting, we can skip this.
-
Workspace Ready! And just like that, our workspace is ready. Click "Start automating" to jump into the dashboard.
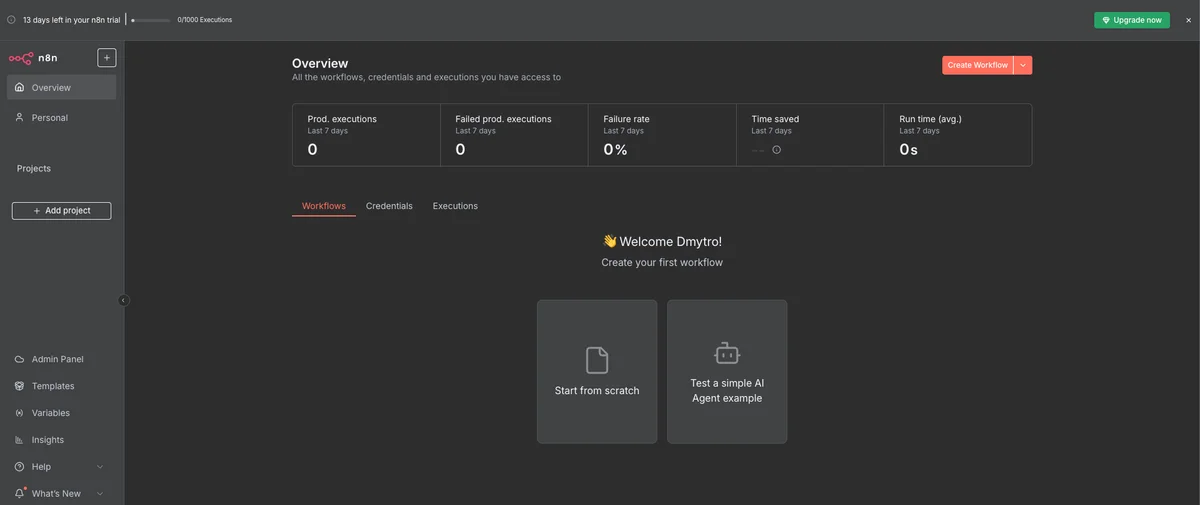
You'll land on a familiar-looking UI, but you'll notice the "14 days left in your n8n trial" banner at the top. The best thing here is that you get the real, latest version of n8n, everything is hosted, and you don't need to think about updates or server management. It's all done out of the box, which is the biggest benefit.
Let's Build Our First Workflow#
Now for the fun part. Let's do our default check and create a simple workflow.
-
Create a New Workflow: From the dashboard, click "Start from scratch."
-
Add a Webhook Trigger: Click the + icon and search for "Webhook." This will be the trigger for our automation.
-
Get Your URL: The Webhook node gives you two URLs: a Test URL for development and a Production URL for when your workflow is live.
-
Listen for a Test Event: Click the "Listen for test event" button. This puts the webhook in a listening mode, waiting for you to send it data.
-
Trigger the Webhook: Copy the Test URL, paste it into a new browser tab, and hit Enter. You should see a simple JSON message:
{"message":"Workflow was started"} -
Check the Data: Back in the n8n editor, you'll see that the node has successfully received the request, and you can inspect the headers and other data it captured.
Here's what the basic webhook workflow looks like:
Activating and Managing Your Workflow#
To make this workflow run for real, you need to activate it.
- Activate: At the top left of the canvas, click the Inactive toggle to switch it to Active. A popup will confirm that the workflow is now live.

- Use the Production URL: Remember, once a workflow is active, you must use the Production URL to trigger it. The Test URL only works when you are actively listening for test events in the editor.
From the main dashboard, you can see all your workflows. You have a toggle to quickly activate or deactivate them, and a menu to Open, Share, Duplicate, or Archive them.
And there you have it! You have a new n8n instance, hosted by n8n itself.
Is It For You?#
Again, look at the pricing and look at other alternatives. If you want a lot of executions and freedom of execution, then self-hosted might be better, as you can run as much as you want as long as your instance can support it.
Look around, check the pricing here, and see what you can get with other hosted options. For example, you can look at our Railway hosting guide or, even better, check out our article comparing all the different options to see which is the best for your use case.
And now you have your n8n instance ready to go. Hope this guide was helpful!